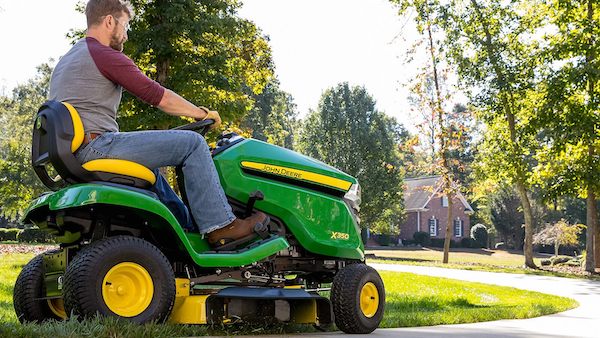
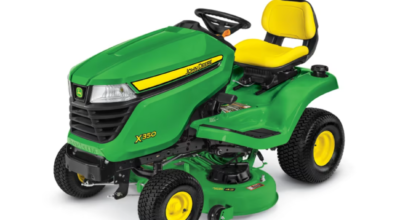
John Deere has rolled out electric One-Touch MulchControl™ to help customers quickly switch between side discharge mowing and mulching with the press of a button. The attachment is available for Accel Deep™ mower decks on John Deere X300 and X500 Select Series tractors.

A heavy-duty baffle opens and closes to convert the mower from side-discharge mode to mulch mode, or vice versa. When the baffle is open, the majority of the material flows freely out the discharge chute or into a material collection system. Once the baffle is closed, the material stays within the deck and gets chopped into mulch and deposited onto the turf.
Let’s take a look at the steps for installing the One-Touch MulchControl™.
- Park the tractor safely on flat ground. Verify that the engine is off, and set the deck down. Refer to your operator’s manual if you need instructions on how to achieve this position.
- Position the mower deck so you have access to both sides.
- Take the kit out of the box and lay out all of the pieces and parts.
- Remove the mower blades and insert a wood block between the blade and mower deck to prevent the blade from turning.
- Remove the bolt washer and blade; repeat on all blades.
- Bolt the mulch gate stop plate under the deck. Tighten the bolts accordingly.
- Next, install the deflectors. Start with the left deflector and attach it to the deck – line up the split tab, then rotate the deflector until the top tabs slide over the baffles. Attach the lock nut on the top of the deck.
- Afterward, attach the right deflector. While making sure the mulch gate is outside the stop plate, align the deflector with existing holes in the mower deck. Attach using a carriage bolt and lock nut. Tighten accordingly.
- Install the actuator bracket to the gauge wheel bracket with two bolts and locknuts. Tighten accordingly.
- Make sure the mulch gate is in the closed position and loosely install the pivot arm to the pivot shaft with the lock net.
- Install the actuator assembly to the bracket with the pin and spring locking pin. Tighten the lock nuts, including the lock nut, attaching the right deflector to the deck baffle.
- Install the spring between the pivot arm and the bushing on the tension arm. Use a spring puller or similar tool to help with installation.
- Install the harness clip on the right hand of the stock bracket.
- Install the blades using a large washer and bolt with the cutting edge toward the ground. Tighten to spec using a torque wrench.
- Install the deck back onto your mower according to your operator’s manual. Once it is attached, raise or remove the hood. Disconnect the spark plugs, and remove the whole plug from the dash panel. This will be replaced with a switch.
- Install the relay block to dash support with a bolt and clamp-on nut.
- Attach the relay block with a cable tie clip on machines with a carbon canister.
- Using two hands, connect the wire harness under the dash to the switch on top of the dash. Insert the switch into the hole, making sure the switch snaps into place on top of the dash.
- Route the kit harness down the right side, following the main machine harness between the side panel and frame.
- Attach the kit harness to the main machine harness with zip ties. Plug the male connector from the main machine harness into the female connector on the kit harness.
- Attach the actuator harness to the main machine harness with the releasable clip throughout the actuator harness, following the main machine harness behind the side panel toward the kit harness.
- Plug the connector from the kit harness into the connector on the actuator harness. Reconnect the spark plugs and tuck the harnesses behind the side panel. Then, lower or reinstall the hood.
If you have any questions about the electric One-Touch MulchControl™, you can contact your local John Deere dealer.
If you enjoyed this post or want to read others, feel free to connect with us on Facebook, Pinterest, or Twitter!


