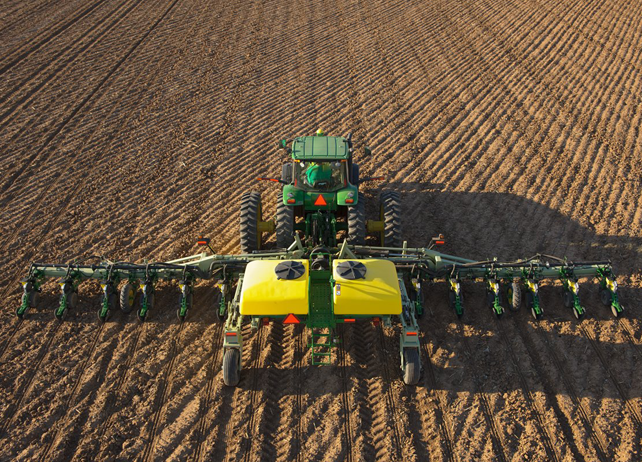
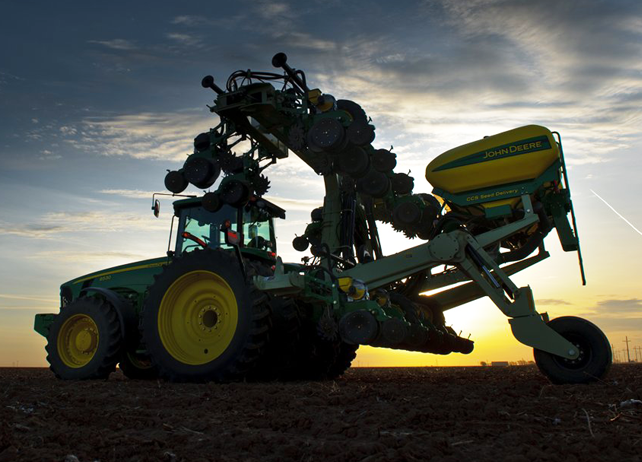
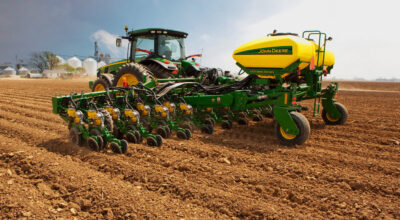
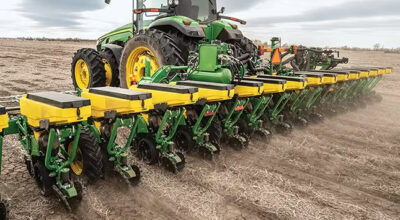
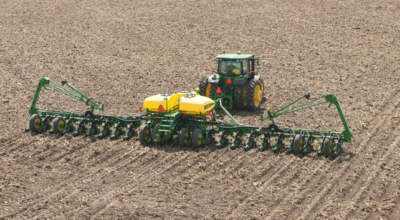
With March just around the corner, spring planting preparations need to start coming to the top of crop producers’ agendas. While planters have likely been dormant for much of the cold winter, late February and early March are the perfect time to perform mechanical checks and maintenance before firing up the engine for another spring on the field.
We’ve established a list of six easy-to-perform planter maintenance tips that will make sure your planter is ready to do its job efficiently, resulting in an optimal yield at year’s end.
So, prior to heading into the field this spring, be sure to…
1. Level the Planter: This is a very important step when preparing to hit the fields for planting. The planter should be level or running slightly uphill. If it’s running downhill, it will likely throw the roll unit off, causing a loss of depth, loss of ground pressure, and a loss of closing wheel pressure. Take a level and put it against the front of the beam to make sure its level or running slightly uphill for optimal performance.
2. Check Tire Pressure: As is the case with any vehicle, proper tire inflation levels are critical. Optimal tire pressure levels on the planter will ensure proper depth control and proper operation throughout the process. Refer to the operator’s manual for ideal tire pressure levels and be sure to align those levels with all tires across your planter.
3. Check Row Unit Bushings: Checking up on bushings is a cheap and easy way to keep your planter from chattering in the fields. A lot of chatter and movement in your bushings can result in a loss of depth in seed placement. Simply grab a hold of the unit and see if you can move it. If there’s any movement occurring at all, it’s likely time to replace the bushings and make the unit nice and tight.
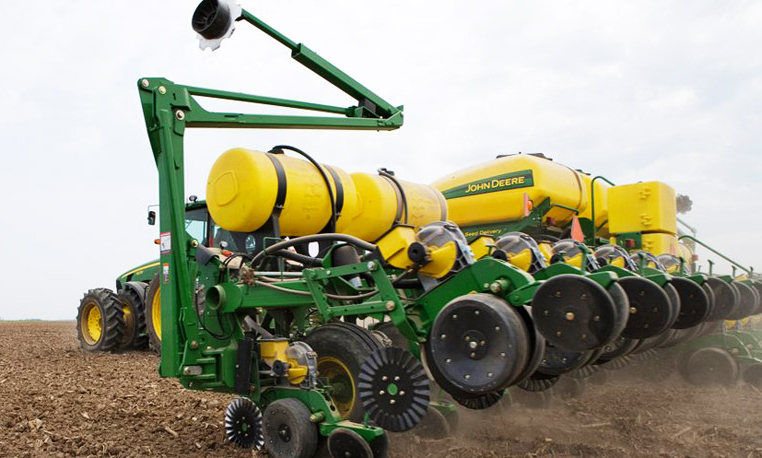
4. Check Condition of Disks: Disks that are in good condition ensure an even emergence of the crop being planted. It’s very common to see crops appear in a “W” pattern if the disks are worn down too much, which could result in a loss of yield. A good way to test is to take the disk and measure across. It should be more than 14 ¼ inches wide at all points and if the number is less, the disk should be replaced.
5. Check Shafts, Bearings, and Chain: The hex shaft and bearings on the planter should be turning easily. First, grab the hex shaft and make sure you can spin it by hand, if you can’t, you may need to replace bearings. Also, make sure your chains aren’t worn out. Check to confirm there’s no tight spots, and keep them well lubricated. If you don’t keep chains on the planter lubricated, you will likely experience chattering in your roll unit and the possibly of losing seeds and/or uneven distribution.
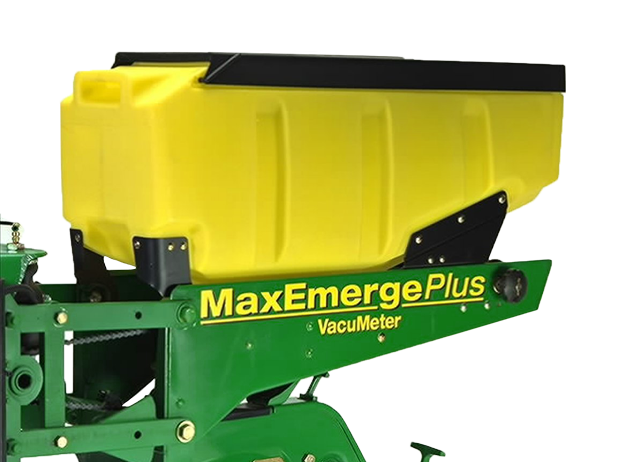
6. Check Seed Metering System: The seed disk and metering system are critical parts of seed distribution. As normal wear is normal on seed disks, too much wear can begin to affect the planting process through frequent skips, doubles and triples. Also, be sure to take metering units apart before use to check condition and remove any dirt that may be built up from last season.
Following these six simple planter maintenance tips before beginning this year’s planting processes will make sure your planter is in optimal condition, ready for long days on the field and a successful year of crop production. If you enjoyed this post, or want to take a look at some others, feel free to connect with us on Facebook!
