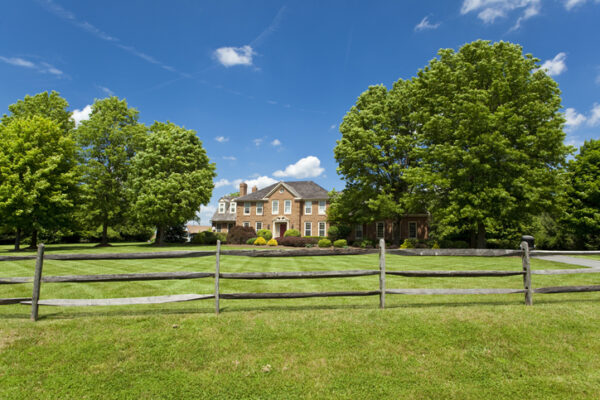
When it comes time to construct a split rail fence on your property, you’ll want to ensure that you’re doing it right to avoid problems later down the line. There are several fundamentals you can keep in mind while fence building, all of which are easy to follow and can give you peace of mind. Let’s take a look at some of the steps you’ll want to consider as you construct the split rail fence you need.

Educate Yourself on Boundaries
Do you know exactly where your fence is going to be built in correlation with nearby properties? The last thing you’ll want to do is construct your fence, only to find out that it’s on a neighbor’s property. Ensure you acquire a legal property description of your land that shows exact boundaries before you begin the installation process.
Mark Utility Lines
The Common Ground Alliance can be contacted by dialing 8-1-1. This nonprofit, which has more than 1,400 members, is responsible for launching the “Call Before You Dig Campaign.” The group can help you mark underground utility lines for free, avoiding a costly mistake as you build.
Sketch Out Your Fence
Sketching out your split rail fence beforehand can help you determine how many posts and rails you need, and it will give you a visual reference guide to follow as you work.
Get Necessary Permits
Permits may be necessary for you to construct the split rail fence of your dreams, meaning you’ll want to check in with local municipalities before you start. Look into zoning laws requiring height, length, style, and materials as well. This can give you a jumping point as you design your split rail fence.
Acquire All of Your Materials
You don’t have to acquire all of your materials at once, especially if you’re constructing a particularly long split rail fence. However, it’s important to keep in mind that once a rail is cut, it’s cut forever.
Begin Measuring
Start with your corner posts by driving a heavy wooden stake into the ground a couple of feet past where you want to locate each end or corner post. Tie a length of heavy twine to the corner stake, 12 inches above the ground, and stretch it tightly to all the other end stakes. Next, lay your rails out on the ground along each run, overlapping each end by 6 inches. Where the rails overlap is where you will dig your post holes. Mark both those spots as well as each post hole location the same distance from the string line (approximately 12 inches). Clearly mark each post 36 inches up from the bottom – you’ll use this mark to make sure you set each post the correct depth. As you begin setting your posts, add some gravel to each hole to bring the depth up to 24 inches and provide good drainage.
Dig Your Post Holes
Dig the post holes at the ground marks you made earlier. Measure from the bottom of the hole up to the string that is 12 inches off the ground. Using a tampering tool, pat down any loose soil at the bottom of the hole and add gravel as needed to make the hole 24 inches deep. If you hit a rock that won’t budge, you can cut up to 6 inches off the bottom of the post – be sure not to cut more than this, though, as posts set less than 18 inches deep can’t be counted on as a stable form of support.
Starting with your first corner, set the specially notched corner post upright in the hole. Then, start filling the hole with dirt until the post becomes somewhat stable. Once the post is set, place the notched rails in their respective holes and make sure the holes you’ve dug for the next posts are in the correct spots. Then, set those posts following the same steps you used for setting the corner post.
For more information on how to install a split rail fence, watch the video below!
Visit this page or contact your local John Deere dealer for more information regarding how to install a split rail fence.
If you enjoyed this post or want to read others, feel free to connect with us on Facebook, Pinterest, or Twitter!


